
The sun can be a harsh mistress for your car.
It’s just as likely to leave your car looking like it has been through some serious battle, as it is to give you that perfect tan.
And the longer you let the sun do its work without protection, the more irreversible damage will occur on car paint.
But don’t worry, there is still hope!
In this article, I will show you five easy steps to repairing sun-damaged car paint.
So, let’s start right away…

Supplies You Will Need
Sandpaper: The coarser grit the sandpaper is, the better it will.
This type of high grit sandpaper will help you remove the sun-damaged paint without affecting the good paint.
Polishing compound: This is the key to making your car look new.
You can use a compound with a very fine grit, as long as it is made to repair sun-damaged paint.
Carnauba wax: This wax will help to fill in any small scratches and make your car shine.
Applicator pads: You will need these to apply the polish and wax. You can use either foam or wool pads.
Microfiber towel: This towel will help you to buff your car and remove any polish or waxy residue.
Clay bar: This is optional, but will help to make your car paint super smooth.
It can be used instead of polishing the compound.
Table of Contents
Repairing Sun Damaged Car Paint
Here are the 5 easy steps that you need to follow in order to repair the sun-damaged car paint on your vehicle:
Step 1. Wash the Car
Washing is a very important step, so you should never skip it.
Use a good car shampoo and a sponge to clean the entire car, including the paint.
This will remove any dirt or dust that may be sitting on the surface and it will also help to prepare the paint for the next step.
You can also use soap to clean the car, but make sure you are not using dish-washing soap.
Use a high-quality car shampoo instead. Follow up by drying the car using microfiber towels.
You don’t want any water spots on the car that will be hard to remove later on.
Use a microfiber towel to dry the car and remove any water spots.
Step 2. Wet Sanding the Surface
Wet sanding is the process of using sandpaper that is wet in order to smooth out the surface of the car.
It is important to use the right type of sandpaper for this step.
You can purchase wet sandpaper at any auto parts store.
Sand in a circular motion and make sure you are using light pressure.
The goal is to remove the top layer of paint that has been damaged by the sun.
It will also even out the texture of your car. If you are working on a smaller area, use 400-grit sandpaper.
You can wet 400 grit sandpaper with water or special medium-grade automotive primer.
For larger areas, move up to 600-grit sandpaper and for very large areas, use 800-grit sandpaper.
Imp TIP: Make sure you are wearing gloves during this step!
Step 3. Apply Polishing compound
After wet sanding, you will need to apply a polishing compound.
This will help to remove any scratches that were left behind from the sandpaper.
You can purchase polishing compounds at any auto parts store.
Apply it and make sure you are using light pressure.
Don’t apply it too heavily, or you will end up with swirl marks.
If the compound is too thick, add a little bit of water to it.
Then you need to use a compounding and polishing wheel in order to remove all of the small scratches that were left behind from wet sanding.
You can purchase this at any auto parts store as well.
Step 4. Carnauba Wax or Ceramic Coating
For this step, first, you need to wax and remove any swirl marks that were left behind from the polishing wheel.
You might be wondering why we didn’t do this while we were wet sanding or applying the compound.
The reason is that you want to make sure that all of your work during wet sanding and polishing is not removed when using the polishing wheel.
Use a soft cloth to apply wax and remove any swirl marks left behind from polishing.
Once you have removed the swirl marks, it is time to add a ceramic coating to your car.
A ceramic coating will protect your car from future damage by UV rays. It will also keep the paint shiny for a very long time.
You can purchase a ceramic coating at any car detailing store.
Step 5. Inspect the Overall Results
Once you have completed all of these steps, take a step back and inspect the results.
Are there any areas that need to be wet sanded again or polished?
If so, go back and repeat the appropriate steps.
Once you are happy with the results, you can now enjoy your beautiful, sun-damage-free car!
The Conclusion
The steps above will repair your car’s paint from sun damage and they will make the surface look shiny and new again!
Follow these steps and your car will be looking good as new in no time.

It can be either dust formed during sudden brake, salt deposits due to snow, or road salt on your chrome Read more

If you like to move into a clean and good-looking car, you will have to take care of it and Read more
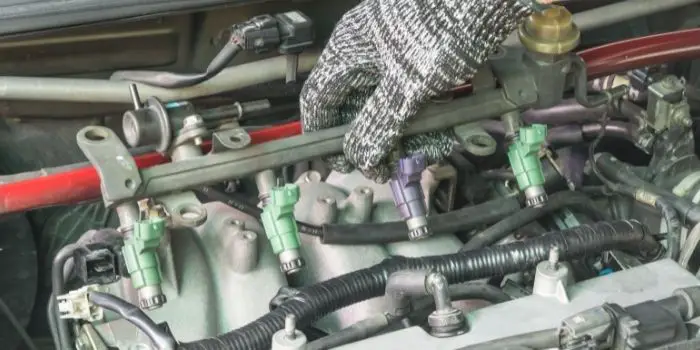
Carbon often builds up in both the engine and the fuel injectors as vehicles age, causing you to use a Read more
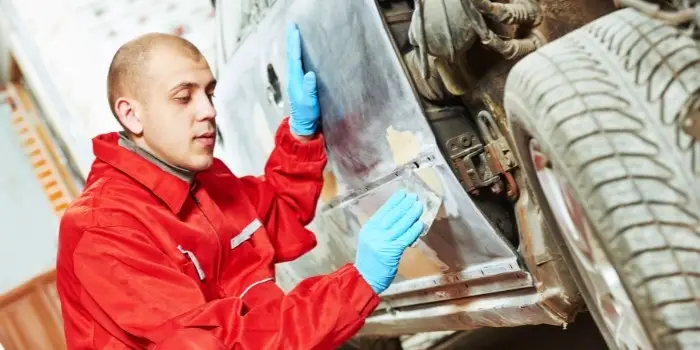
For a long time, body filler has been the preferred method of repairing small dents and damaged areas on cars. Read more

Based in Orem (Utah) John Paterson graduated from Utah Valley University and has begun writing in 2009. He has a large wealth of experience in writing articles related to cars, automotive repair, wheels, cleaning/maintenance, and much more. He has also written instructional articles in a similar niche for a few online publications as well. Currently, he works as a mechanic in his personal garage shop where he loves serving his countrymen from his heart.