

If you like to move into a clean and good-looking car, you will have to take care of it and maintain it properly from time to time.
But the harsh truth is maintaining a luxury car correctly is an art as it requires your interest and determination.
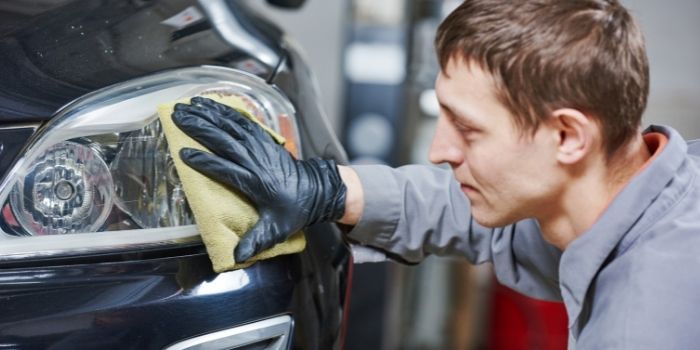
Among the various things to be taken care of, one small thing is the glimpse of the car’s headlights.
Numerous car owners are worried about how their car’s headlights look.
Often, these may look extraordinarily dull and foggy – even after washing and waxing.
So, how to keep the headlights of your car clean and shiny? Let’s check out some great tips and household cleaning agents that might help…
Table of Contents
1- Water and Vinegar
No worries when you have white vinegar and warm water at your disposal.
In a few hours, you can be damn sure of getting back showroom-like headlights for your car.
Required Items:
- Warm water
- Rough sponge
- White Vinegar
- Soft Cloth
Steps to follow:
The first step is to take off the headlight cover and submerge it entirely in white vinegar.
Let it soak in it for an hour at least, allowing the white vinegar to act on it to its fullest potential.
White vinegar’s acidic nature helps to peel off the hard-coated dusty layer by loosening it. After the soaking process, rinse it fully and pat dry with a soft cloth.
Once you feel it has been loosened, put back the headlight cover on.
2- Cooking Spray Oil
It serves the dual purpose of cleaning and making the headlight shine – not only does it remove dirt, but it also helps to restore the scratch-free look of your headlights.
Required Items:
- Cooking spray oil
- Dry cotton cloth
Steps to follow:
The process of using cooking spray oil is almost similar, with some little tweaks here and there.
Spray some simple cooking spray on the headlights and use a very soft cloth to buff it for a sparkling shine.
Utmost care should be taken not to create further scratches when buffing. You have to treat it carefully like you treat your eyeglasses.
2- Toothpaste
In case you imagine or compare your grimy headlights to teeth, you will come to know the answer to cleaning your headlights.
Yes, it is your toothpaste.
You may wonder how it can save and rebuild the long-lost shine of your headlights, but in reality, it works.
Required Items:
- Soft Cloth and
- Tooth Paste
Steps to Follow:
The instructions are pretty simple and similar to the ones you use daily while brushing your teeth. Instead of a toothbrush, you are going to use a soft cloth.
Squeeze out some toothpaste and put it in the middle of your headlights.
Use the soft cloth to rub the toothpaste gently in a circular motion, beginning from the middle and extending towards all corners of the headlight.
Do this until all the toothpaste in the headlight is used completely.
Also, perform this process a few more times until you get the desired results.
3- Bug Spray
Bug spray is not only for keeping bugs at bay from your car, but it can also be used to keep clean that yellowish hue in your headlights.
If you think it is a rumor, now is the time for you to put it to the test. Let’s get on it.
Required Items:
- Soft Cloth and
- Bug Spray
Steps to follow:
Cleaning dirty headlights are easy with bug spray.
All you have to do is to spray it on the headlights and, using a soft cloth, rub it in small circular trends with gentle pressure.
This process eliminates the worn-out plastic materials hinging onto the headlight due to dust and UV rays.
Finally, you get a shiny, flashy headlight.
4- Baking Soda
The use of baking soda never runs short.
Being used as a reliable household remedy for many years for various issues – it can also be used to clean your headlights.
As an additional benefit, it will remove the paint in your fog lights if you wish to, apart from cleaning headlights.
Since it can rip off the paint, ensure it won’t come in contact with the paint in the car’s body.
Required Items:
- Baking Soda
- Soft Cloth
- Warm Water
- Sponge and
- Bowl
Steps to follow:
Take about 5 tablespoons of baking soda and put it in the bowl.
Add warm water of the required amount to create a semi-solid paste.
Dip a corner of the sponge into the paste and apply it to the headlights.
To give a polished look, rub the soft cloth on the headlights containing the paste material in a circular motion.
You need not exert more pressure while rubbing as the abrasive nature of baking soda will do the necessary task.
Please repeat this step multiple times until you are satisfied with its shiny look.
Finally, rinse the headlights once with soap water and pat them dry. You are all set to witness your bright headlights again.
5- Dish Soap
Much to your surprise, this DIY household solution (using dish soap) provides a shiny look to your headlights.
Required Items:
- Dish soap
- Bucket
- Sponge and
- Warm water
Steps to follow:
Sponge and dish soap water is the easiest combination to wash your headlights and rear lights.
To make it easier, cleanse your headlights first and let them soak in warm water for a few minutes.
Then scrub with soapy water to get rid of all the dirt and rubbish formed in the headlights. Follow circular motions for easy scaling of residue and rinse out thoroughly.
If you want to make it more effective, use salt + dish soap.
The addition of salt gives an abrasive property to the mixture to remove the grime and hues attached to the headlight’s lens.
In other words, this mixture will work vigorously on the dirt settled on the headlights as the salt and soap can even remove the grease.
6- Denatured Alcohol
You would have never thought that this item on your bathroom shelf – denatured alcohol – would be a superstar when it comes to getting rid of the moldy and yellowish layer that fogged your headlights for a long time.
Required Items:
- Soft rag and
- Denatured alcohol
Steps to follow:
Use soap water to lather your headlights and pat them dry after rinsing well.
Buy denatured alcohol from a nearby store and dowse a soft rag into it.
Using this solution, rub it gently on your headlights till it completely wards off the yellowish tone. Rinse and dry your headlights again.
To give an additional layer of protection, apply car wax coating on your headlights using a soft rag.
7- Headlight Restoration Kit
Headlight restoration kits are readily available at a very low cost in stores like Amazon.
Most of these kits contain masking tape, light sanding discs, wax protectants, and other items that can restore the luster of headlights, taillights, fog lights, and directional lights.
Typically they help buff and polish to restore the former clarity, get rid of scratches and dings, and remove discoloration on a surface very professionally.
The Conclusion
It’s dangerous and irritating for anyone to drive with foggy headlights and dull lights because the chances of mishaps are high due to dull vision.
To address this, you can now follow a variety of DIY ways that helps your headlights to restore the lost sheen.
Pick the best one from the above list, and I hope you do not have to suffer the dangers of dull and foggy lights ever again.
If you think you cannot get involved in DIY methods, it is best to get professional services to save your time and energy.
They can help improve the condition of your headlights by entirely replacing the headlight lens with car bulbs. But as this can be an expensive affair, most folks prefer not to do this or consider it as a last resort.
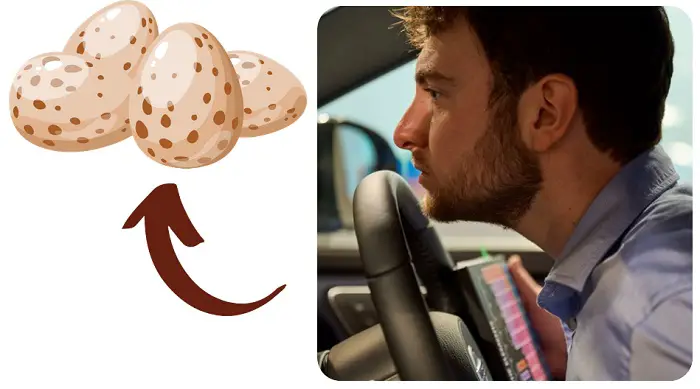
No one on earth will like the strong unpleasant potent smell of rotten eggs in their car while driving. If Read more
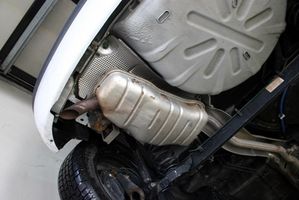
A catalytic converter is important for your vehicle as it converts pollutants (such as carbon monoxide, hydrocarbons, nitrogen oxides, and Read more
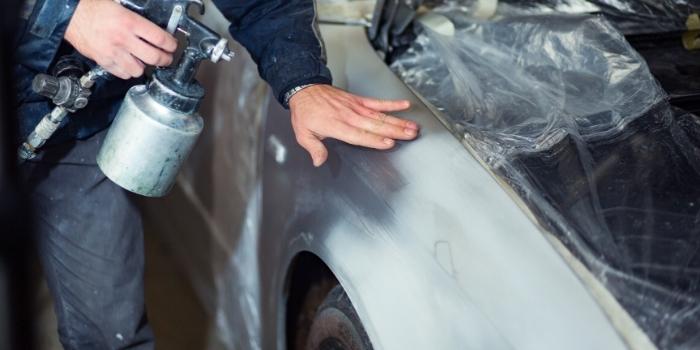
The cost of painting a car’s door depends on various things like DIY painting (do it yourself), where it will Read more
When you use your car for a long time, the tires are not as shiny as they used to be. Read more

Based in Orem (Utah) John Paterson graduated from Utah Valley University and has begun writing in 2009. He has a large wealth of experience in writing articles related to cars, automotive repair, wheels, cleaning/maintenance, and much more. He has also written instructional articles in a similar niche for a few online publications as well. Currently, he works as a mechanic in his personal garage shop where he loves serving his countrymen from his heart.