When you wash your automobile, you get the whole thing sparkling clean, except for some bothersome gray dust on the wheels.
You clean and scrub, and even if it disappears, it returns in a matter of days or weeks.
Congratulations! You’ve got brake dust, and It’s nothing to worry about.
Brake dust on your wheels is typical, but it certainly detracts from the overall aesthetic of your vehicle.

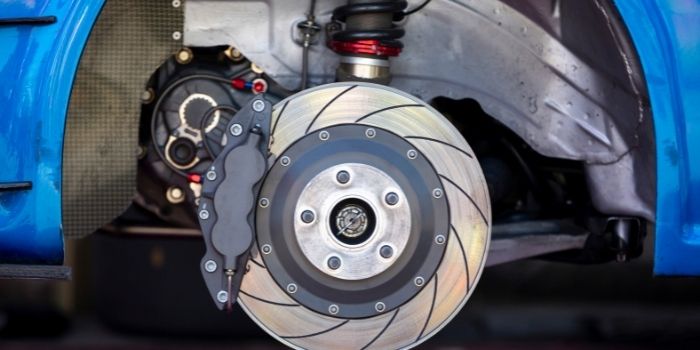
This gray/black splatter on your wheels is caused by the adhesion of iron particles from the brake discs and carbon particles from the pads of the brakes.
There is no way to avoid this soiling, since rubbing the brake disc each time you apply the brakes will release brake dust.
We’ve outlined the simplest steps to keep your wheels and rims clean and clear of ugly and possibly dangerous brake dust below.
Table of Contents
Step 1. Check if the wheels and brakes are not too warm from hand
The only method to clean your wheels adequately is after the car has been sitting and out of direct sunshine.
When your wheels have cooled off, it’s time to address the afflicted regions.
Step 2. Remove significant dirt or contaminants by rinsing the wheels
You should rinse off the heavier dirt and pollutants on your wheels before going after them with cleansers and brushes.
This will make it easier to scrape and clear away the brake dust that has accumulated below.
Brake dust will be orange, gray, or black based on what color your wheels and rims are.
Step 3. Apply the brake dust cleaner
Brake dust cleanup problems aren’t solved with soap and water.
To achieve the best results, use the appropriate brake dust cleaning product according to the type of wheels you’ve got.
Rims and wheels are not all constructed of the same material, and certain cleaning products might cause harm if they are not the right sort for your vehicle.
Because most wheels are composed of steel, alloy, or aluminum, you’ll need to discover the appropriate brake dust remover for your wheel type but know this as well that most vehicles are manufactured with aluminum alloy wheels.
Read the details of your cleaner to verify that it will not damage your wheels and to determine how long you should leave the product on the wheel before rinsing.
Step 4. Let the brake dust removal sit for some time and start rubbing/rinsing
Give a quick scrape with a brush or wheel cleaner and begin rubbing the surface to loosen up all the brake dust.
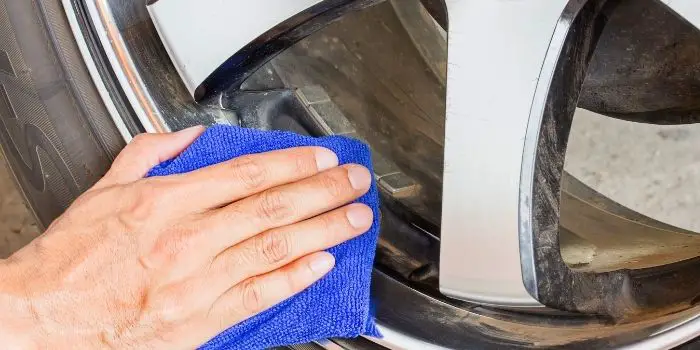
After you’ve finished all the hard work, rinse the freshly cleaned wheel with a hose and water and check your job.
However, you’ll probably see locations you didn’t notice before.
Especially on more detailed wheels with nooks and crevices and if you see any missed places, you should go over the cleaning process again.
If you were successful in removing all the brake dust on the initial application, you may proceed to the drying process, which you can do by using a clean cloth or rag.
And that’s how you clean the brake dust from the rims and wheels of your cars.

Based in Orem (Utah) John Paterson graduated from Utah Valley University and has begun writing in 2009. He has a large wealth of experience in writing articles related to cars, automotive repair, wheels, cleaning/maintenance, and much more. He has also written instructional articles in a similar niche for a few online publications as well. Currently, he works as a mechanic in his personal garage shop where he loves serving his countrymen from his heart.


