
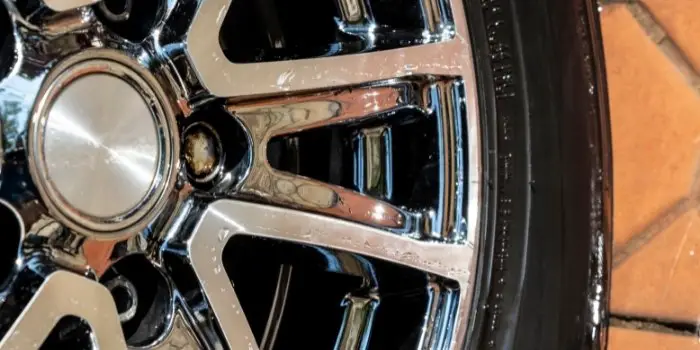
Chrome-plated aluminum wheels look stunning when they’re new, but over time, that bright shine often turns into a headache.
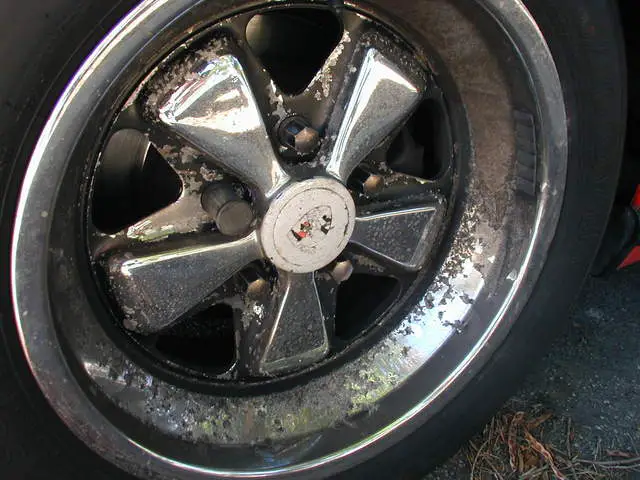
Flaking, peeling, and corrosion are all too common. At that point, many car owners face the same choice: replace the wheels entirely or restore them by stripping off the old chrome.
If you’re reading this, you’re probably leaning toward the second option—and for good reason.
Done right, the process can save you money and deliver professional-grade results.
Chrome Removal: Why it Matters?
There are three main reasons why this step is worth your time:
- Aesthetic value – Damaged chrome is distracting. Even if the rest of your car looks perfect, pitted or peeling chrome makes it appear neglected.
- Performance – Chrome is a harder surface than aluminum. Once it begins to peel, it can trap moisture and accelerate corrosion underneath. Removing it protects the integrity of the wheel.
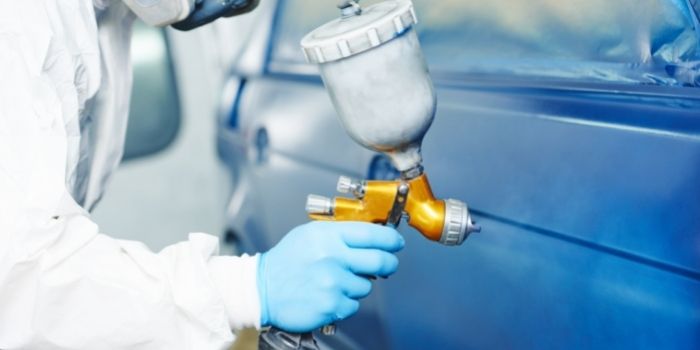
- Customization – Bare aluminum can be polished, painted, or powder-coated. If you want modern matte finishes or durable coatings, chrome has to go first.
Think of it as stripping old paint before renovating a house—you create a clean foundation for whatever comes next.
Removing Chrome from Aluminum Wheels
If your wheels have started peeling or flaking chrome, don’t worry—it’s not as complicated as it sounds.
The most effective methods usually involve sanding, grinding, or blasting the chrome away. With the right tools and a bit of patience, you can restore your aluminum wheels at home in a DIY way.
Below is a step-by-step process to safely remove chrome from your car wheels and rims.
Step 1 – Remove the wheel rims
Start by detaching the wheel rims from the tires. Use a tire iron to loosen the bolts on the wheelbase.
To avoid putting uneven pressure on the bolts, remove them in a crisscross pattern—for example, loosen the top left bolt, then the bottom right, then the top right, followed by the bottom left.
Once all the bolts are out, use a pry bar to separate the tire from the rim.
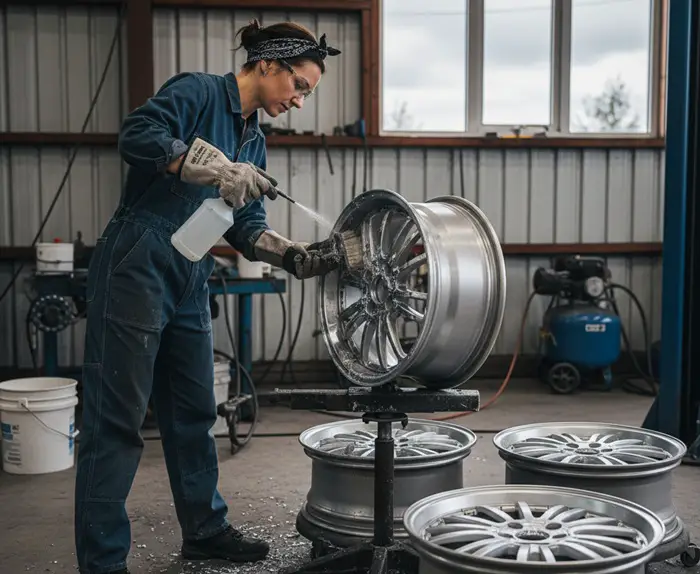
Step 2 – Apply wheel polish
Coat the entire rim with a quality wheel polish and let it sit for at least five minutes.
Be sure to choose a polishing compound that’s safe for aluminum. This helps prepare the surface for sanding and makes chrome removal easier.
Step 3 – Sand and polish again
Use medium-grit sandpaper to start removing the chrome plating. Higher-grit sandpaper will speed up the process, so switching to 800–1200 grit is recommended.
After the first round of sanding, apply another coat of wheel polish and let it sit for another five minutes.
Then, continue sanding with fine-grit sandpaper (around 1200 grit) for a smoother finish.
Step 4 – Final polish and scrub with steel wool
Apply wheel polish one last time and let it sit for about five minutes.
This time, scrub the rim with steel wool instead of sandpaper to remove any remaining chrome residue.
Finally, rinse the rim with cool water and wipe it clean with a soft cloth. At this point, your aluminum wheels should be free of chrome and ready for refinishing or a fresh polish.
Mistakes to Avoid
Many first-timers make avoidable errors. Keep these points in mind:
- Do not rush. Stripping chrome takes time, and forcing the process can damage the aluminum.
- Do not skip safety gear. Chrome dust and chemical fumes are serious hazards.
- Do not pour chemicals down the drain. Always follow local hazardous waste disposal regulations.
Other Methods to Get Rid of Peeling Chrome Plating from Aluminum
If your wheels are inexpensive or you simply want the experience of doing it yourself, the DIY route is reasonable.
You’ll learn a lot, save money, and gain the satisfaction of restoring your wheels with your own hands.
However, if your wheels are high-value aftermarket rims or factory wheels that you can’t replace easily, professional stripping is a better choice.
Shops equipped well will help achieve perfect results without risk by using one of these methods:
Reverse Electroplating
Professionals often rely on this method. While highly effective, it’s typically not practical for home use.
In this method, the wheel is submerged in an electrolyte bath and connected to a power supply, which effectively “unplates” the chrome.
- Advantages: Precise and highly effective.
- Disadvantages: Requires specialized equipment.
If your wheels are high-value or if you want guaranteed results, professional electroplating removal is the safest choice.
Chemical Stripping Method
Chemical solutions designed for chrome removal dissolve the plating so it can be wiped or rinsed away.
These products usually contain strong acids (often containing hydrochloric or sulfuric acid) and require strict safety precautions—gloves, goggles, and proper ventilation are non-negotiable.
- Advantages: Works well on intricate designs where sanding tools can’t reach.
- Disadvantages: Hazardous if handled carelessly, requires proper disposal.
This method appeals to many DIY enthusiasts because it delivers faster results than sanding.
Alkaline or solvent-based removers are also many times used for chrome removal as they are gentler on aluminum.
It’s less aggressive than acidic solutions, using solvents or caustic agents to lift chrome from the surface. Though they often require longer soaking times to be effective.
These removers are ideal for DIY projects where a slower, more controlled process is preferred.
However, safety precautions are still important—always wear gloves and goggles, and ensure proper ventilation while using them.
Recommended Approach for Chrome Removal
- Start Mild, Escalate if Needed – Begin with a gentle chemical remover to see if it effectively loosens the chrome.
- Test on a Small Area – Apply the product to a small, inconspicuous area first to ensure it won’t damage the aluminum.
- Follow Manufacturer Instructions – Timing, dilution, and safety recommendations are critical for effective removal and protection of your wheels.
- Prepare for Mechanical Assistance – Even the best chemical remover often requires some sanding or brushing to fully remove residual chrome.
Factors to Consider When Choosing Chrome Removers for Aluminum Wheels
When selecting a chrome remover, consider the following:
Wheel Material – Make sure the product is safe for aluminum. Some chemicals can etch or corrode softer metals.
Chrome Thickness – Heavier or industrial-grade chrome may require stronger chemical removers.
Design Complexity – Wheels with intricate patterns may need a chemical solution rather than sanding.
Personal Safety Comfort – If you’re not comfortable handling strong acids, choose a gentler solution or consult a professional.
Environmental Concerns – Check local regulations for chemical disposal. Environmentally safer products may take longer but reduce ecological impact.
How Can You Prevent Chrome Deterioration on Your Car Wheels and Rims in the Future?
You’ve spent the time and effort removing old, damaged chrome and possibly refinishing your aluminum wheels.
The last thing you want is for that shiny finish to start peeling or pitting again.
Chrome deterioration doesn’t happen overnight—it’s the result of consistent exposure to harsh conditions, chemicals, and neglect.
Preventing it is far easier than fixing it later. Here’s how to keep your wheels looking flawless for years.
Understand the Causes of Chrome Deterioration
Before prevention, it helps to know what causes the problem:
- Road Salt and Chemicals – Winter roads and industrial environments often have salts and de-icing chemicals that eat away at chrome.
- Brake Dust – Accumulated brake dust contains corrosive particles that can pit chrome surfaces.
- Moisture and Humidity – Water trapped under the wheel or in micro-cracks accelerates corrosion.
- Improper Cleaning – Harsh brushes, abrasive cleaners, or acidic detergents can damage the chrome finish over time.
- UV Exposure – Prolonged sun exposure can dull the chrome and weaken protective layers.
Maintaining and Protecting Your Chrome Wheels
Keeping your chrome wheels in top condition requires a combination of cleaning, protection, and mindful habits. Start with regular cleaning:
- Wash your wheels weekly with mild soap and water to remove dirt, brake dust, and road salts.
- Use soft brushes or microfiber cloths to prevent scratches.
- Dry thoroughly to avoid water spots and trapped moisture.
Next, add protective layers to extend the life of the finish:
- Apply wheel wax, sealants, or ceramic coatings to shield against contaminants and UV rays.
- Maintain factory clear coats by avoiding abrasive tools and reapplying protection every few months.
Moisture management is also crucial for preventing corrosion:
- Keep wheel wells and drainage holes clear.
- Avoid prolonged exposure to puddles, sprinklers, or damp storage conditions.
- Store wheels in a dry, climate-controlled area during off-seasons if possible.
Driving habits significantly impact wheel durability.
So, it’s good to limit exposure to salted roads and harsh chemicals, avoid potholes or rough terrain that can chip the finish, and whenever possible, park in shaded or indoor areas to protect against sun damage.
Final Thoughts
Removing chrome plating isn’t just about improving appearance. It’s about extending the life of your wheels, preparing them for refinishing, and taking full control of how your vehicle looks.
So, it’s always good to start with safer options and escalate as needed, and always follow safety guidelines.
With the right product, you’ll remove the chrome efficiently, protect your aluminum, and set yourself up for polishing, painting, or coating with confidence.

If you like to move into a clean and good-looking car, you will have to take care of it and Read more
A person who enjoys DIY projects may try their hand at painting their vehicle. However, it is important to know Read more
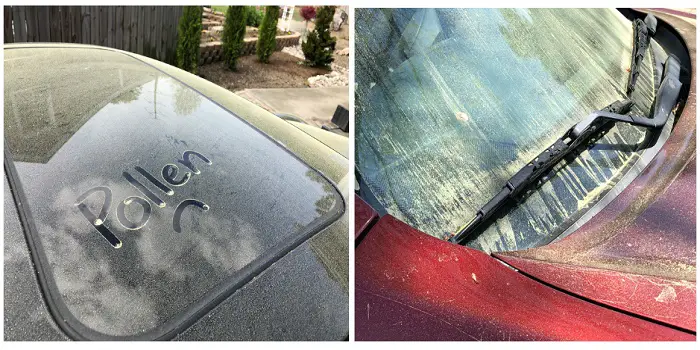
Spring is a beautiful time of year — birds sing, flowers bloom, and tree pollen paints your once-glistening new white Read more
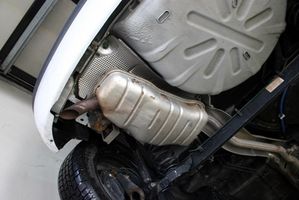
If your car’s been feeling a little sluggish lately, don’t blame it just yet—it might be your catalytic converter crying Read more

Based in Orem (Utah) John Paterson graduated from Utah Valley University and has begun writing in 2009. He has a large wealth of experience in writing articles related to cars, automotive repair, wheels, cleaning/maintenance, and much more. He has also written instructional articles in a similar niche for a few online publications as well. Currently, he works as a mechanic in his personal garage shop where he loves serving his countrymen from his heart.